Fedora32/Centos8下编译安装Qemu5.1并创建ARM版本Linux虚拟机
什么是QEMU?QEMU是一种通用的开源计算机仿真器和虚拟器。
1、全系统仿真:在任何受支持的体系结构上为任何计算机运行操作系统
2、用户模式仿真在任何受支持的体系结构上为另一个Linux / BSD目标运行程序
3、虚拟化以接近本机的性能运行KVM和Xen虚拟机
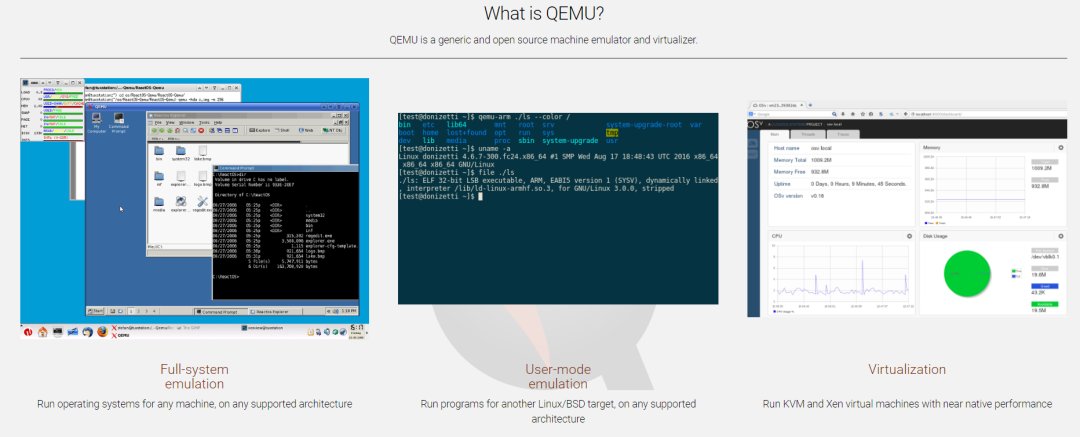
下面介绍在Fedora下编译最新版本Qemu5.1并创建ARM版本Linux虚拟机
一、编译安装Qemu5.1
wget https://download.qemu.org/qemu-5.1.0.tar.xz
tar xvJf qemu-5.1.0.tar.xz
cd qemu-5.1.0
./configure
make -j6
make install
编译安装出现报错的解决办法
1) ERROR: "cc" either does not exist or does not work
./configure
ERROR: "cc" either does not exist or does not work
解决办法
yum install gcc
2)ERROR: glib-2.48 gthread-2.0 is required to compile QEMU
./configure
ERROR: glib-2.48 gthread-2.0 is required to compile QEMU
解决办法
yum install glib2-devel
3)pixman >= 0.21.8 not present.
./configure
ERROR: pixman >= 0.21.8 not present.
       Please install the pixman devel package.
解决办法
yum install pixman-devel
4)-bash: make: command not found
make
-bash: make: command not found
解决办法
yum install make
二、创建ARM版本Linux虚拟机
提前准备CentOS-7-aarch64-Minimal-1810.iso 以及aarch64的UEFI固件
至于网上QEMU_EFI.fd的固件本地测试没有成功
下载地址:http://releases.linaro.org/components/kernel/uefi-linaro/16.02/release/qemu64/
下面直接使用源码包qemu-5.1.0/pc-bios/edk2-aarch64-code.fd解决
qemu-img create hdd_aarch64.img 16G

cp /opt/qemu-5.1.0/pc-bios/edk2-aarch64-code.fd ./

qemu-system-aarch64 -m 2048 -cpu cortex-a57 -smp 2 -M virt -bios edk2-aarch64-code.fd -serial stdio -display vnc=10.20.90.56:0 -drive if=none,file=CentOS-7-aarch64-Minimal-1810.iso,id=hd0 -device virtio-blk-device,drive=hd0 -drive if=none,file=hdd_aarch64.img,id=hd1  -device virtio-blk-device,drive=hd1 -netdev user,id=unet -device virtio-net-pci,netdev=unet -device virtio-gpu-pci -device driver="nec-usb-xhci" -device driver="usb-kbd" -device driver="usb-mouse"
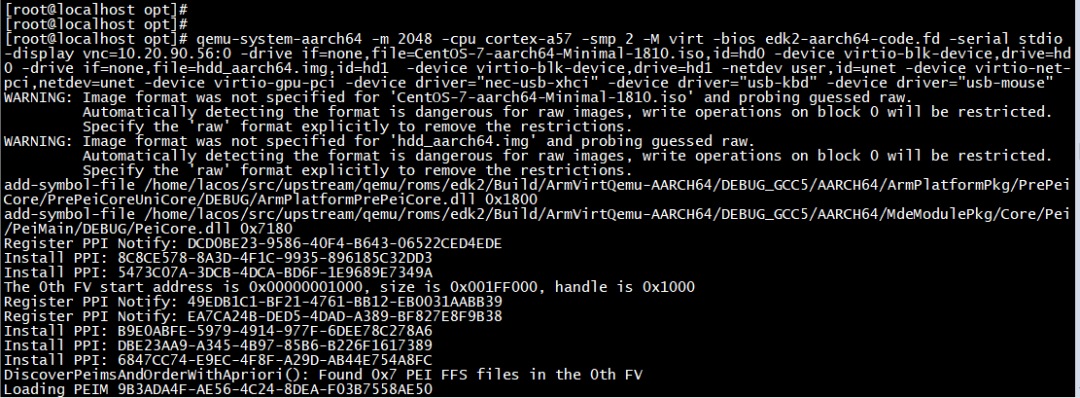
创建完成后,使用UltraVNC Viewer 登录VNC,进行虚拟机安装
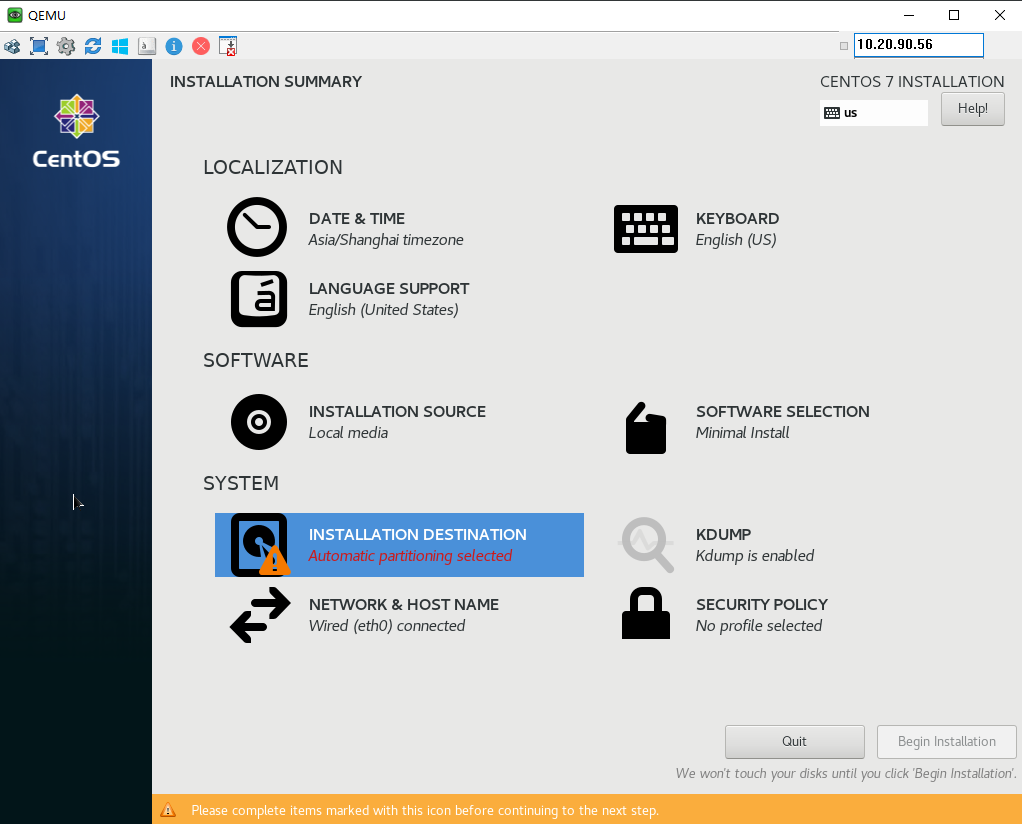
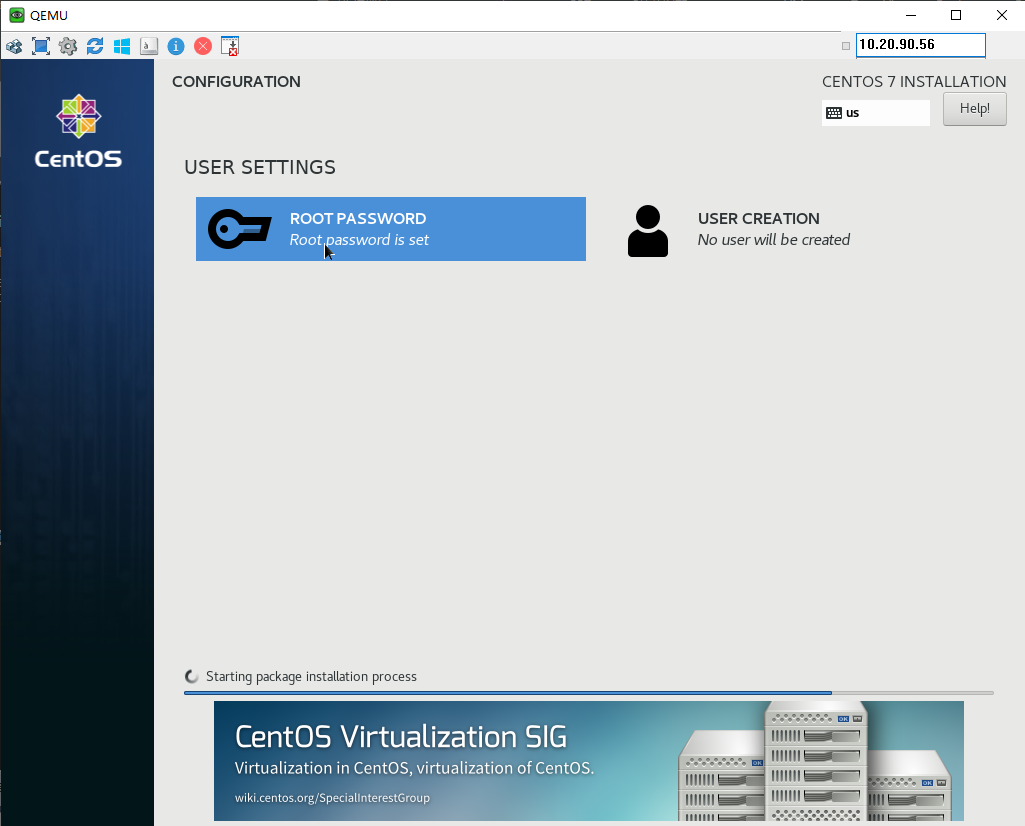
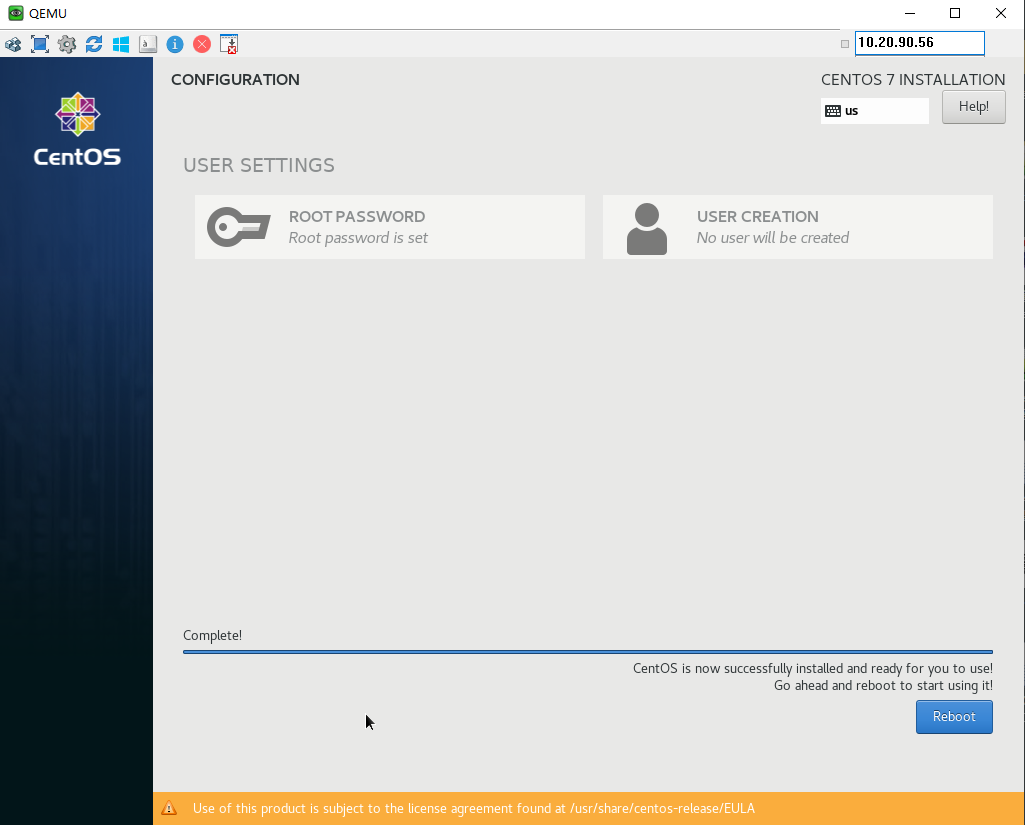
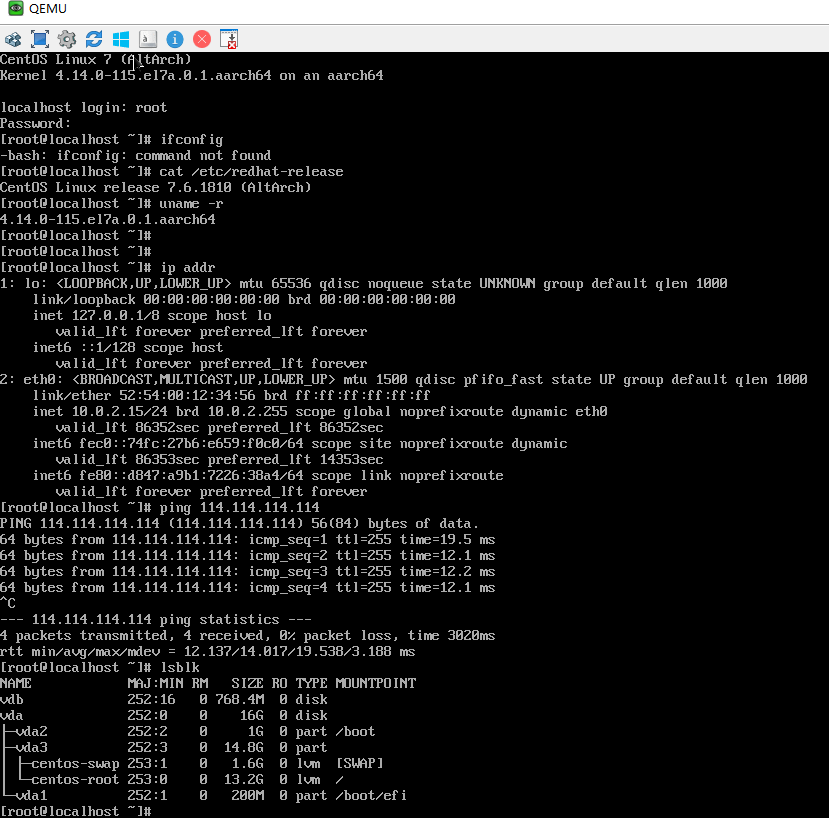
创建虚拟机时遇到的问题均在如下官方帮助文档中找到相关提示解决 https://wiki.qemu.org/Documentation/Platforms/ARM
1、图形化问题
virt machine graphics Graphics is also available, but unlike x86 there is no default display device enabled: you should select on from the Display devices section of "-device ?". One good option is to use: -device virtio-gpu-pci
2、vnc问题
-display vnc=IP:0
目录 返回
首页